Earlier this week I was asked what it takes to set up writer’s notebooks in the classroom: cost, time, content, etc. I shared why I use them in my post last year (The Wonderful World of Writer’s Notebooks), but this post is dedicated to the logistics. (You’re welcome, Jeffery Frieden!)
To start, let me say that I keep a writer’s notebook alongside my students. They need to see that what they’re doing is beneficial and important. They may even ask you what you’re working on, so be prepared!
Step 1: Materials checklist
Teachers are notorious for breaking the bank with purchases on classroom materials. When preparing for writer’s notebooks, that can still be a scary number.
However, it doesn’t have to cost you much if anything… Say what?
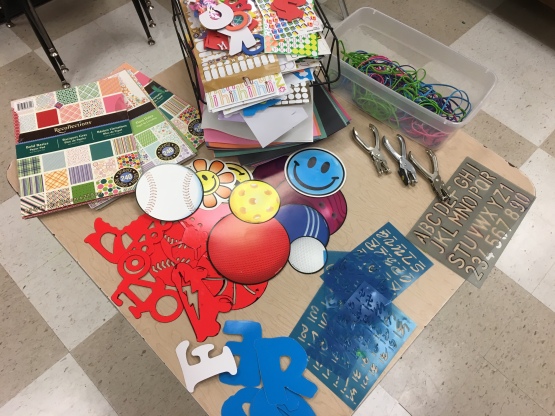
First, let me give you a basic list of things that you’ll need/want:
- spare notebooks (for students who can’t get their own)
- necessities (glue, scissors, hole punch)
- construction paper
- scrapbook paper
- duct tape
- clear packing tape
- stickers
- stencils
- file bands (those large rubber bands)
- sticky tabs
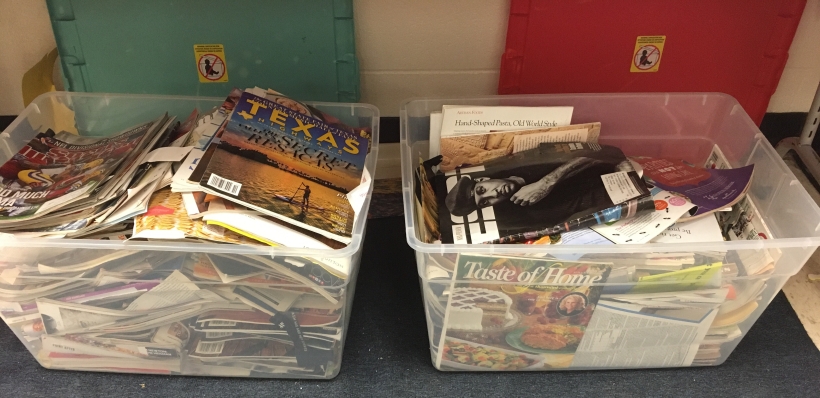
- magazines
Now, that may seem like a lengthy list, but students/parents are more than willing to help out if you have a wish list. (Thanks to my co-worker Erin for that idea!)
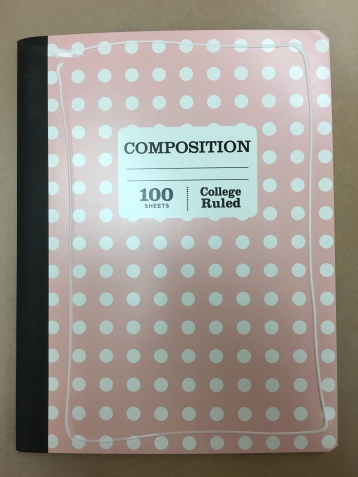
Most students will supply their own notebook. (I recommend non-plastic composition notebooks.) They’ll also supply things for their own notebooks and share when they’ve used what they wanted: stickers, duct tape, etc.
Your necessities are generally supplied by the school (hopefully). If they can, they may even let you add a few other items from your list: notebooks, file bands, construction paper…
As for the magazines… Every magazine I have was donated by different libraries. All you have to do is ask them if they have any that they’re willing to donate to your classroom. The worst they can say is no, so try it!
Whatever you can’t get through classroom wish list/donations, you can budget into your teacher spending. If that’s not possible, feel free to ask friends and family. Some of them may be more than willing to help out since it’s for the students!
Step 2: Gather for decoration
This step can be done one of several ways… It simply depends on your preference.
- Students can gather everything they need before they start the process.
- Students can gather a few things they need, start the process, and go back as needed.
- Your choice…
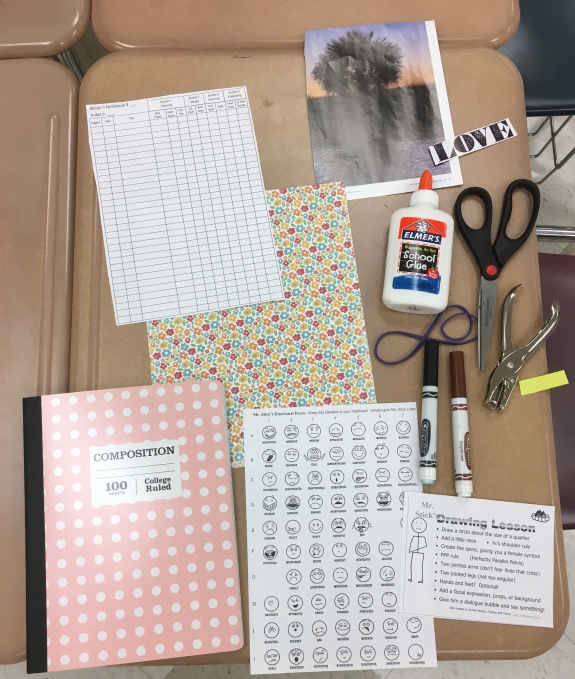
For this example, here is what my students need:
- necessities (glue, scissors, hole punch)
- notebook
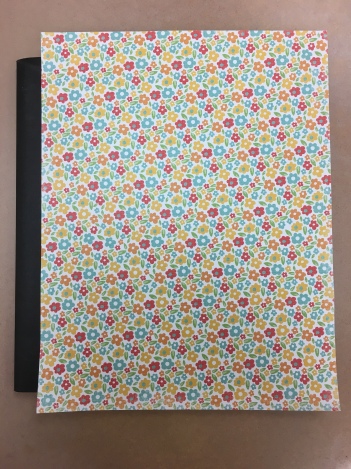
- cover (scrapbook paper, in this case)
- decorations (magazine cutouts)
- file band
- sticky tab
- handouts (Index and Mr. Stick)
- clear packing tape (optional, but helpful)
Some students also choose to use duct tape (maybe even for the entire front cover). For the students who love to draw, I encourage them to choose construction paper so they can create a scene nobody else will have!
They may decide to bring a photo from home for the front cover, too. Be sure to tell them that they must have permission to go digging through family photos, first, especially since it will be glued to a notebook permanently.
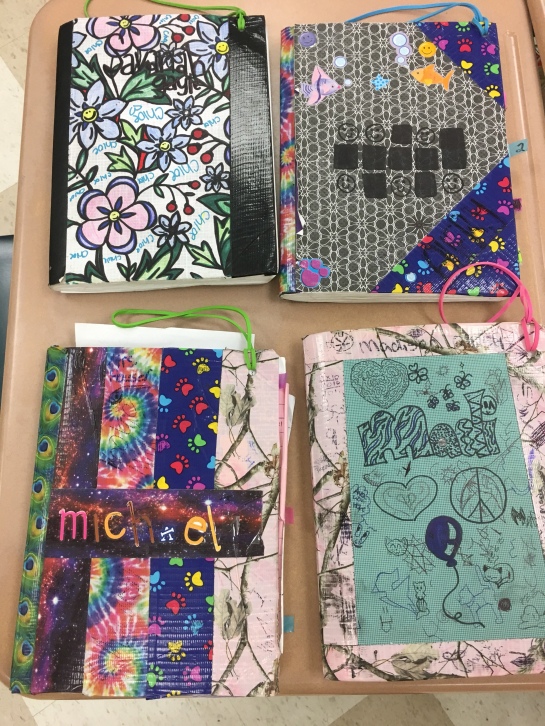
Step 3: Assemble the notebook
Assembling the notebook may seem like a lot of work, but it’s not so bad once you get to your second or third notebook. Students start to think of it as “bragging rights” when they’ve started a new notebook, which is quite fun!
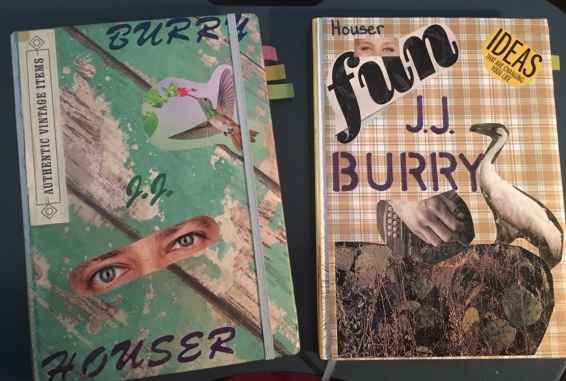
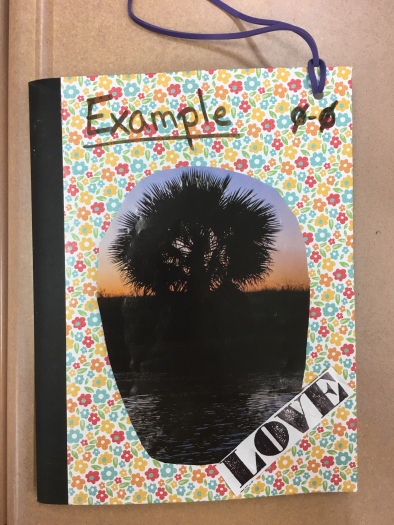
The basic front cover…
This is a must in our classroom. Students must have at least a basic front cover in order to take ownership of their notebook. From what I’ve seen, once they add the cover, they tend to want to decorate it more!
Start with a thin strip of glue around the outside edge of the notebook. Avoid the black binding. If you cover over this part, it could tear the notebook.
Next, center your chosen decoration over the front. You want paper hanging off both the top and the bottom. No need to cut! Push down so the glue adheres.
Give it a few seconds to stay put in the glue, then open it and fold over the edges. Glue those down too. (I generally start with the top and bottom.)

Next, add whatever decorations to the front as you wish. (Magazine cutouts, stickers, pictures, stenciled drawings/letters, etc.)
Then, punch a hole in the top right-hand corner for the file band. This band will keep everything from falling out of the notebook in the future.
The front is complete! Feel free to decorate the back if you want!
Optional– add clear packing tape to the front cover as a layer of protection to keep it from tearing.
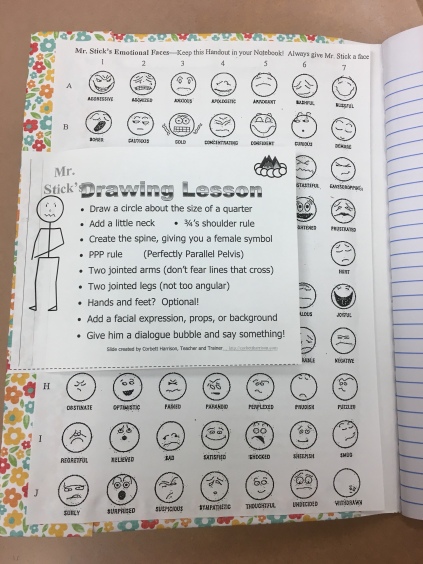
The inside front…
Even though each student will be working on something different, the basics for every notebook are the same for us.
On the inside cover, we start with Mr. Stick. He is a wonderful creation by Corbett Harrison, and he has numerous uses (check out the website for ideas!) that we discuss throughout the school year.
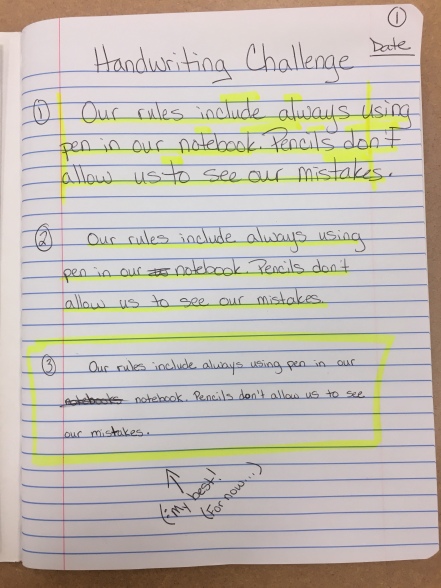
On the opening page, we create our “Handwriting Challenge” that we refer to throughout the year.
- Write two sentences as you would if you were just freely writing (feel free to choose a specific topic).
- Notice the red lines. We like to stay inside them to create a more pleasant appealing page (if we’re writing essays and such). Also, notice letter positions.
- Let’s try those two sentences again, but this time focus on the red lines and letter formations.
- Notice, some letters are still breaking the rules. It happens. However, look at how much neater this try was.
- I bet we can write even neater. Let’s try!
- Excellent! This is our best handwriting — for now. Let’s emphasize for now because we can continue to practice in our notebook and improve!
Next, turn the page. We’re going to make a pocket for our Writing Goals. Notice, we angle the point toward the side that it will be glued to. Also, we only need a strip of glue on the bottom and the outside edge.
Close those pages together, and we have a pocket! This is where our sticky tab will go to make it easier to find our goals in the future.


The inside back…
The back cover of the notebook isn’t near as complicated.
First, we need a pocket that we’ll label “Idea Pocket.” This pocket allows us to collect writing ideas and store them until we’re ready to use them.
- magazine cutouts
- newspaper cutouts
- index cards with written ideas
- receipts
- sticky notes with new words
- whatever you want!
To the left of that pocket is the index. I don’t like to keep a Table of Contents because you never know how much space to leave, so we use an index. If you run out of room, then the index works back to front.


The index uses the same system as our writing goals. It is an adaptation of Jeff Goins’ Bucket System for writing. We have definitely found the value in the writing process this year!
Step 4: Time to write
Your notebook is decorated and all yours! What are you going to write now?
Here are a few things you might want to try:
- Avoiding Writer’s Block in 4 Steps
- 3 Steps for Writing a Poem
- 5 Steps on the Journey to the First Draft — Author Tool Box
- Micropoetry When Life Is Busy…
- 5 lessons I’ve learned about writing flash fiction — Author Toolbox
- 3 Questions about Epistolary Writing — Author Toolbox
Resources:
I’ve listed a couple resources in this post, but here is a collection for you in case you need it:
Corbett Harrison
Jeff Goins
Feel free to leave comments below. I’d love to hear from you!

This is exactly what I was looking for! You nailed it!
I am creative in ways other than this, but I can really see this being a BIG step toward building a writing community in the classroom. I never would have thought to ask libraries for old magazines (I suppose the dentist office may have some left overs to dump too).
This is brilliant all around. I am really looking forward to bringing this to my classroom. Right now I am thinking about next year, but I may just ask my students if they want to do it now.
Thank you! Thank you! THANK! YOU!
LikeLiked by 1 person
Thanks for the blog idea! I never thought the process would be exciting, but I suppose it is 🙂
I hope your students choose to start it now because it is a blast!
Good luck!
LikeLike